Overview
Searching for murphy beds leads to complicated, bulky designs in a pinterest hellscape™. I wanted a wall-mounted fold-away bed that didn't waste an inch of space in my tiny combination guest bedroom and office. The design shown here can be built with common lumber, hardware, and tools. It makes efficient use of space, with no footprint when closed.
This design does not use any type of springs, so it requires a bit of effort to lift. It assumes you have 3 to 4 studs to screw the hinges into because they are supporting everything when it is folded up. Finally, this is my own design, it has worked for several years, but it undoubtably has flaws. Use at your own risk.
Materials
These materials are designed to make a queen size frame. This design works best with a relatively thin mattress. I used a 2x12 for my headboard which gave me 11 inches for both the frame and mattress. The frame is the thickness of a 2x4 (3½ inches), which happened to work perfectly with my 7½-inch-thick mattress.
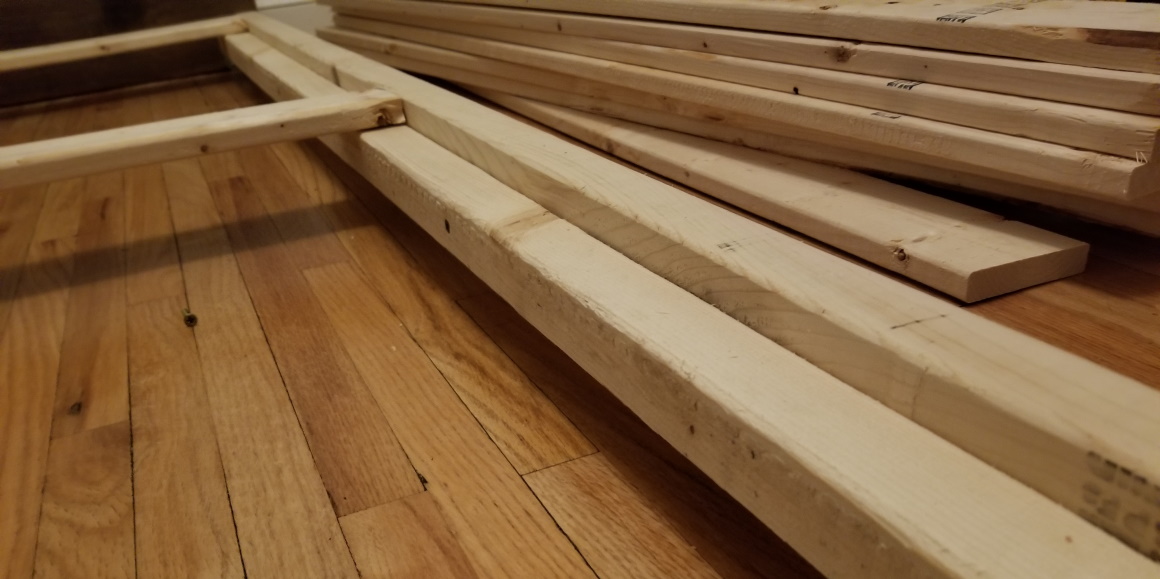
- Lumber
- 2 7ft 2x4s
- 2 7ft 2x2s
- 1 7ft 2x3
- 1 5ft 2x4
- 1 5ft 2x12
- 12 5ft 1x4s
- 2 scrap 2x4 pieces, about 10 inches each
- Hardware and miscellaneous
- About 60 1½ inch wood screws
- About 20 2½ inch wood screws
- 2 gusset angle wood ties and appropriate screws
- 4 4-inch Tee hinges
- 2 8-inch flat corner braces
- Felt tape (preferably at least 4ft long and 3mm thick)
- Heavy duty eye hook
- Cam strap with carabiner
- Tools
- Drill
- Tape measure
- Saw
- Level
- Stud finder
- Clamps
- Carpenter's square
Step 1: Hang the hinges

This is the most difficult step because it requires getting all three screws to align with the narrow edge of a hidden stud four times. Make sure there is enough clearance between the ceiling and the bed, and between the header and the floor/molding. In my case this left a very narrow window where the hinges could be.
- Starting with one of the ends, use multiple passes with a stud finder to identify the edges of the stud and install only the top hinge screw at the midpoint between the edges. Use 1½ inch screws in case you have electrical running through the center of the studs.
- Clamp a straight temporary alignment board (a 2x4 works well) to that hinge and a second hinge on the opposite end. Repeat the process to find the midpoint of the stud. Once aligned, ensure the alignment board is level and install a screw for the second hinge.
- Install the middle hinges, ensuring that all hinges are level, centered on their studs, and flush with the alignment board. Remove the alignment board.
Step 2: Attach header to frame
The 90 degree connection between the frame and the header is under a lot of stress because of the leverage while raising and lowering the bed, and because there are no feet supporting the header end of the bed when it is lowered. I added as much re-enforcement as I could fit and hoped it was enough. So far it has been!
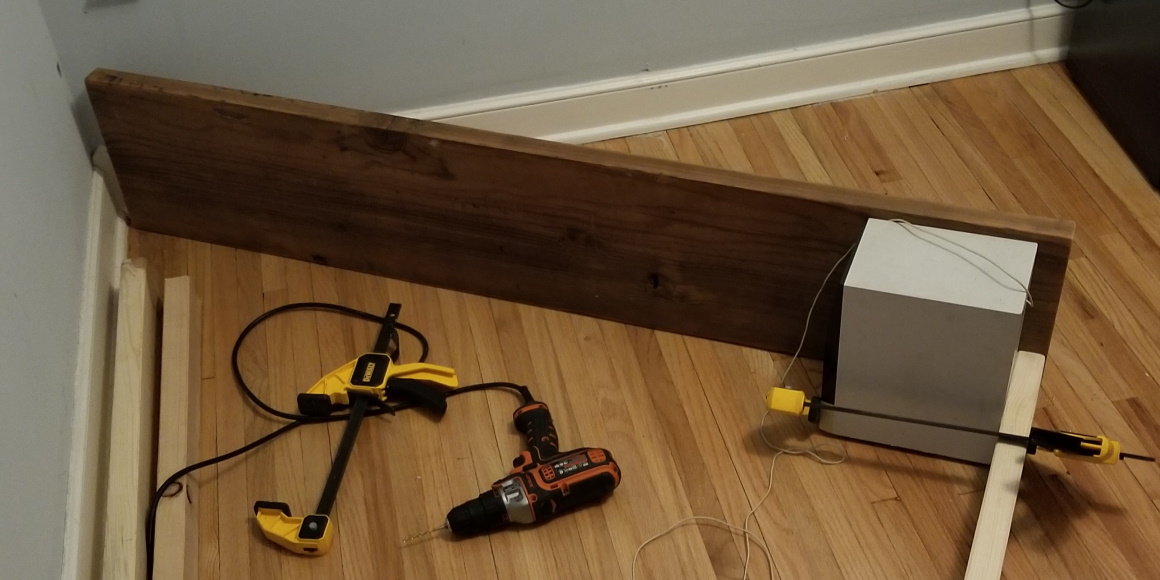
- Using a carpenter's square, the floor, and whatever else you have lying around (in my case an old subwoofer), ensure you have a flush and square connection between your header and an 80-inch long 2x4. Drill 2 2½ screws from the back of the header into the end of the 2x4.
- Install the flat corner braces using 1½ inch screws.
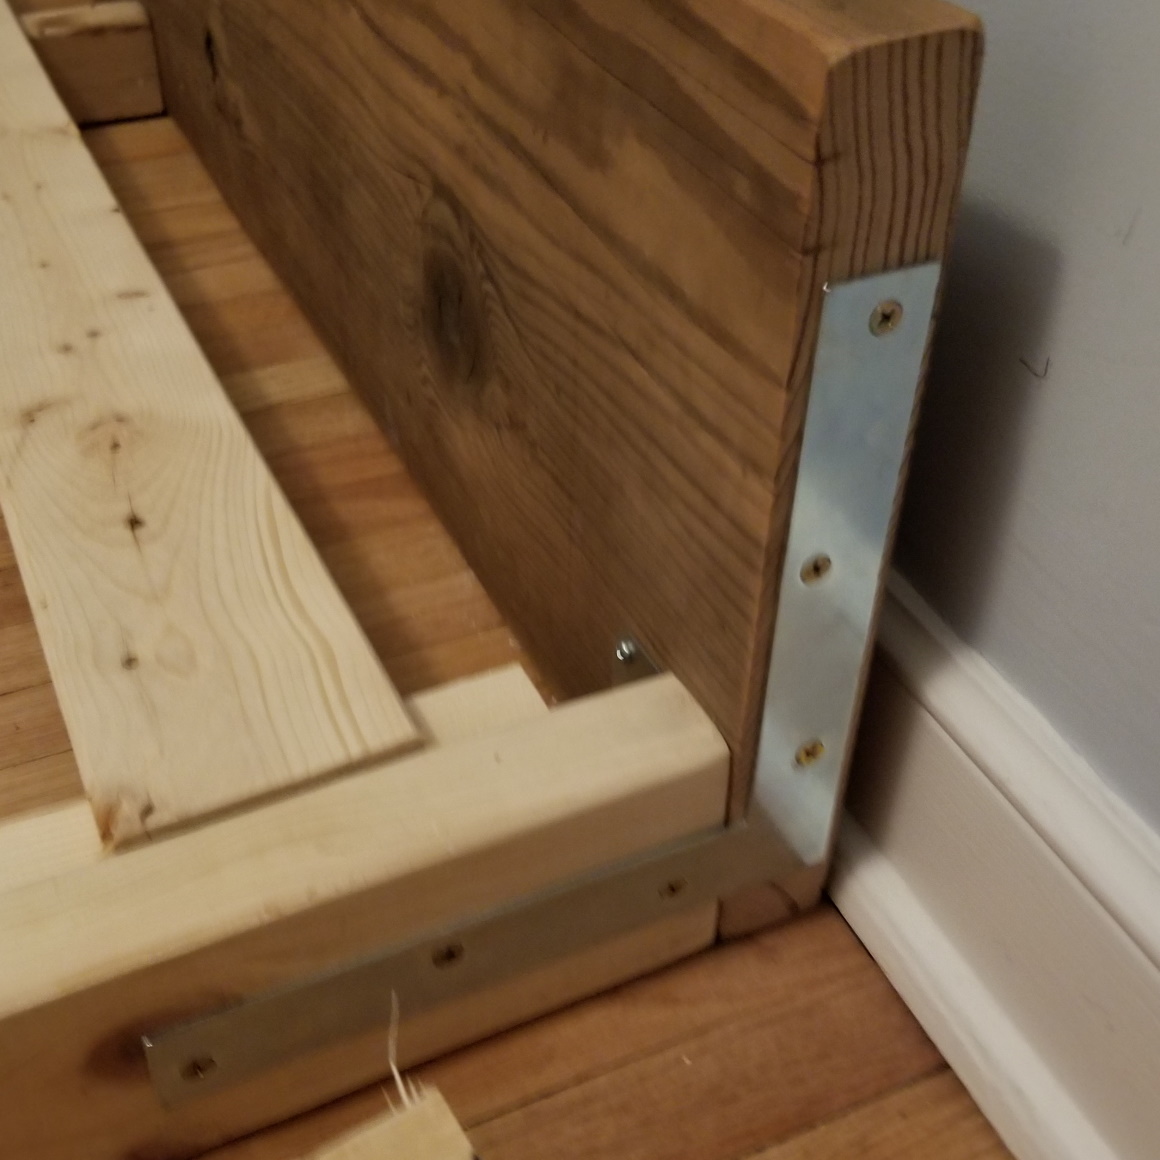
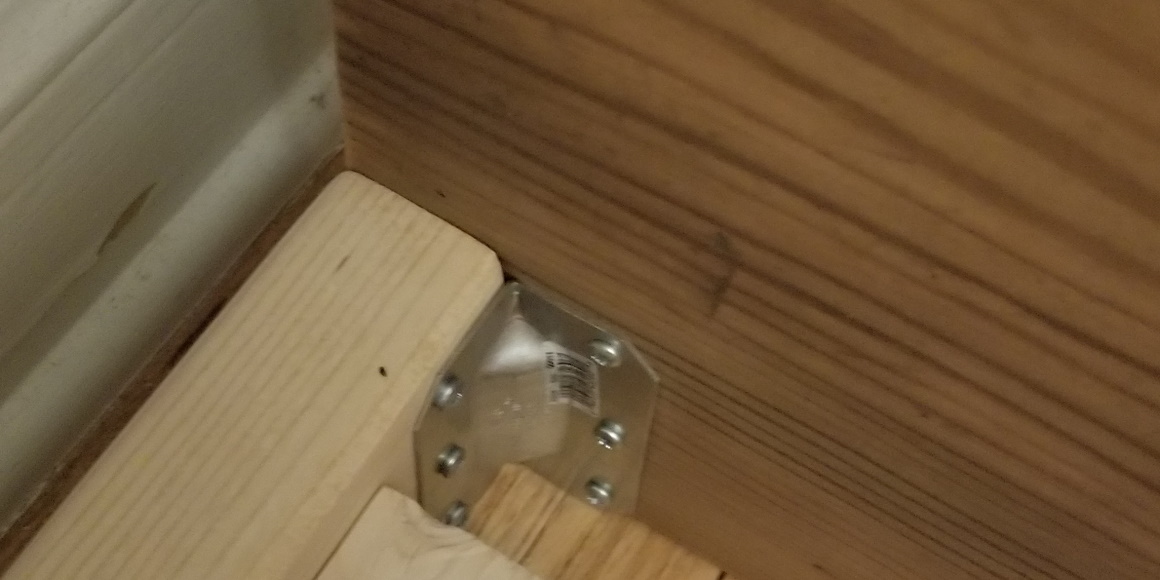
- Install the gusset angle wood ties on the interior of the connection between header and frame.
Step 3: Build out bed frame
- Cut the 2x2s to 76 inches long and position flush against the 80-inch 2x4s, leaving 2 inches gaps between the ends of the 2x3 and 2x4. Screw the 2x2 approximately ½ inch below the top of the 2x4 so that when a 1x4 is on top of the 2x2 it is flush with the top of the 2x4.
- Cut the short 2x4 to the size of the gap between the 2 80-inch 2x4s when they are parallel, about 57 inches. Use 2½ inch screws to connect the 80-inch 2x4s to the footer 2x4.
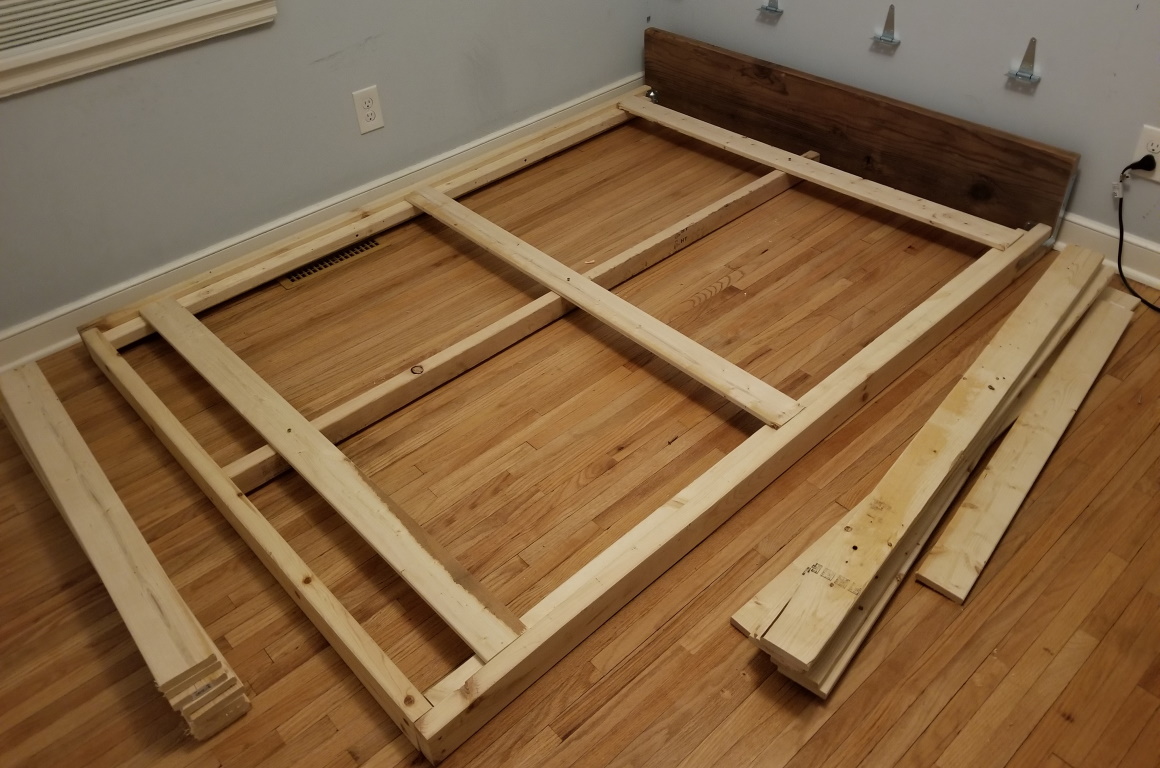
- Cut the 2x3 to the size of the gap between the footer and header, about 78½ inches. Use slats to ensure the top of the 2x2s and 2x3 are all level, then attach the 2x3 to the header and footer with 2½ inch screws. The height of the 2x3 plus the 1x4 slats should be equal to the height of the 2x4s, so you might be able to lay everything on the floor and have it line up.
Step 4: Attach frame to hinges and add miscellaneous components
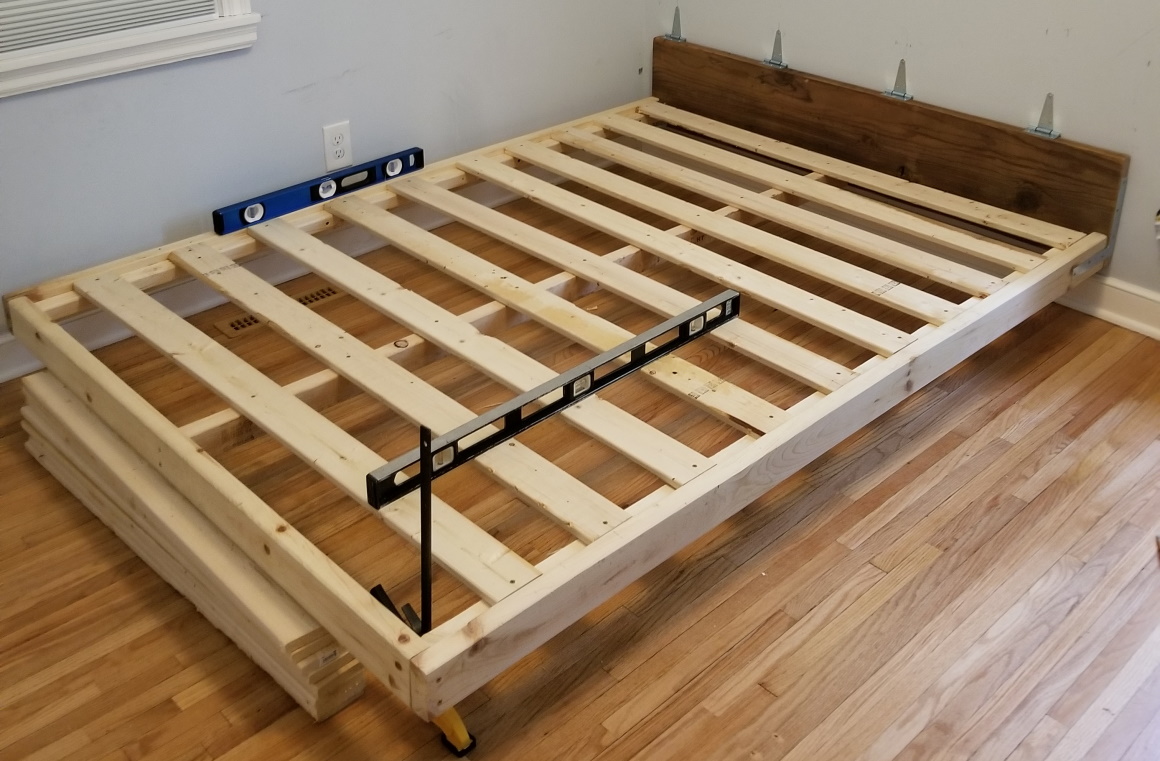
- Support the frame using scrap wood and attach header to hinges. Ideally the header should not touch the wall and it should hang uniformly an eighth of an inch from the wall. In practice, this can be difficult and the felt tape applied to the back of the header in a subsequent step will help even out any imperfections.
- Cut and attach the slats using whatever spacing you want.
- Using scrap wood or expandable clamps, make sure the frame is level. Then cut and install support feet near the footer. I screwed it into the 2x2s with 2½ inch screws, but this could be improved.
- Add felt tape to back of footer near the bottom. This will stabilize the frame and protect your walls.
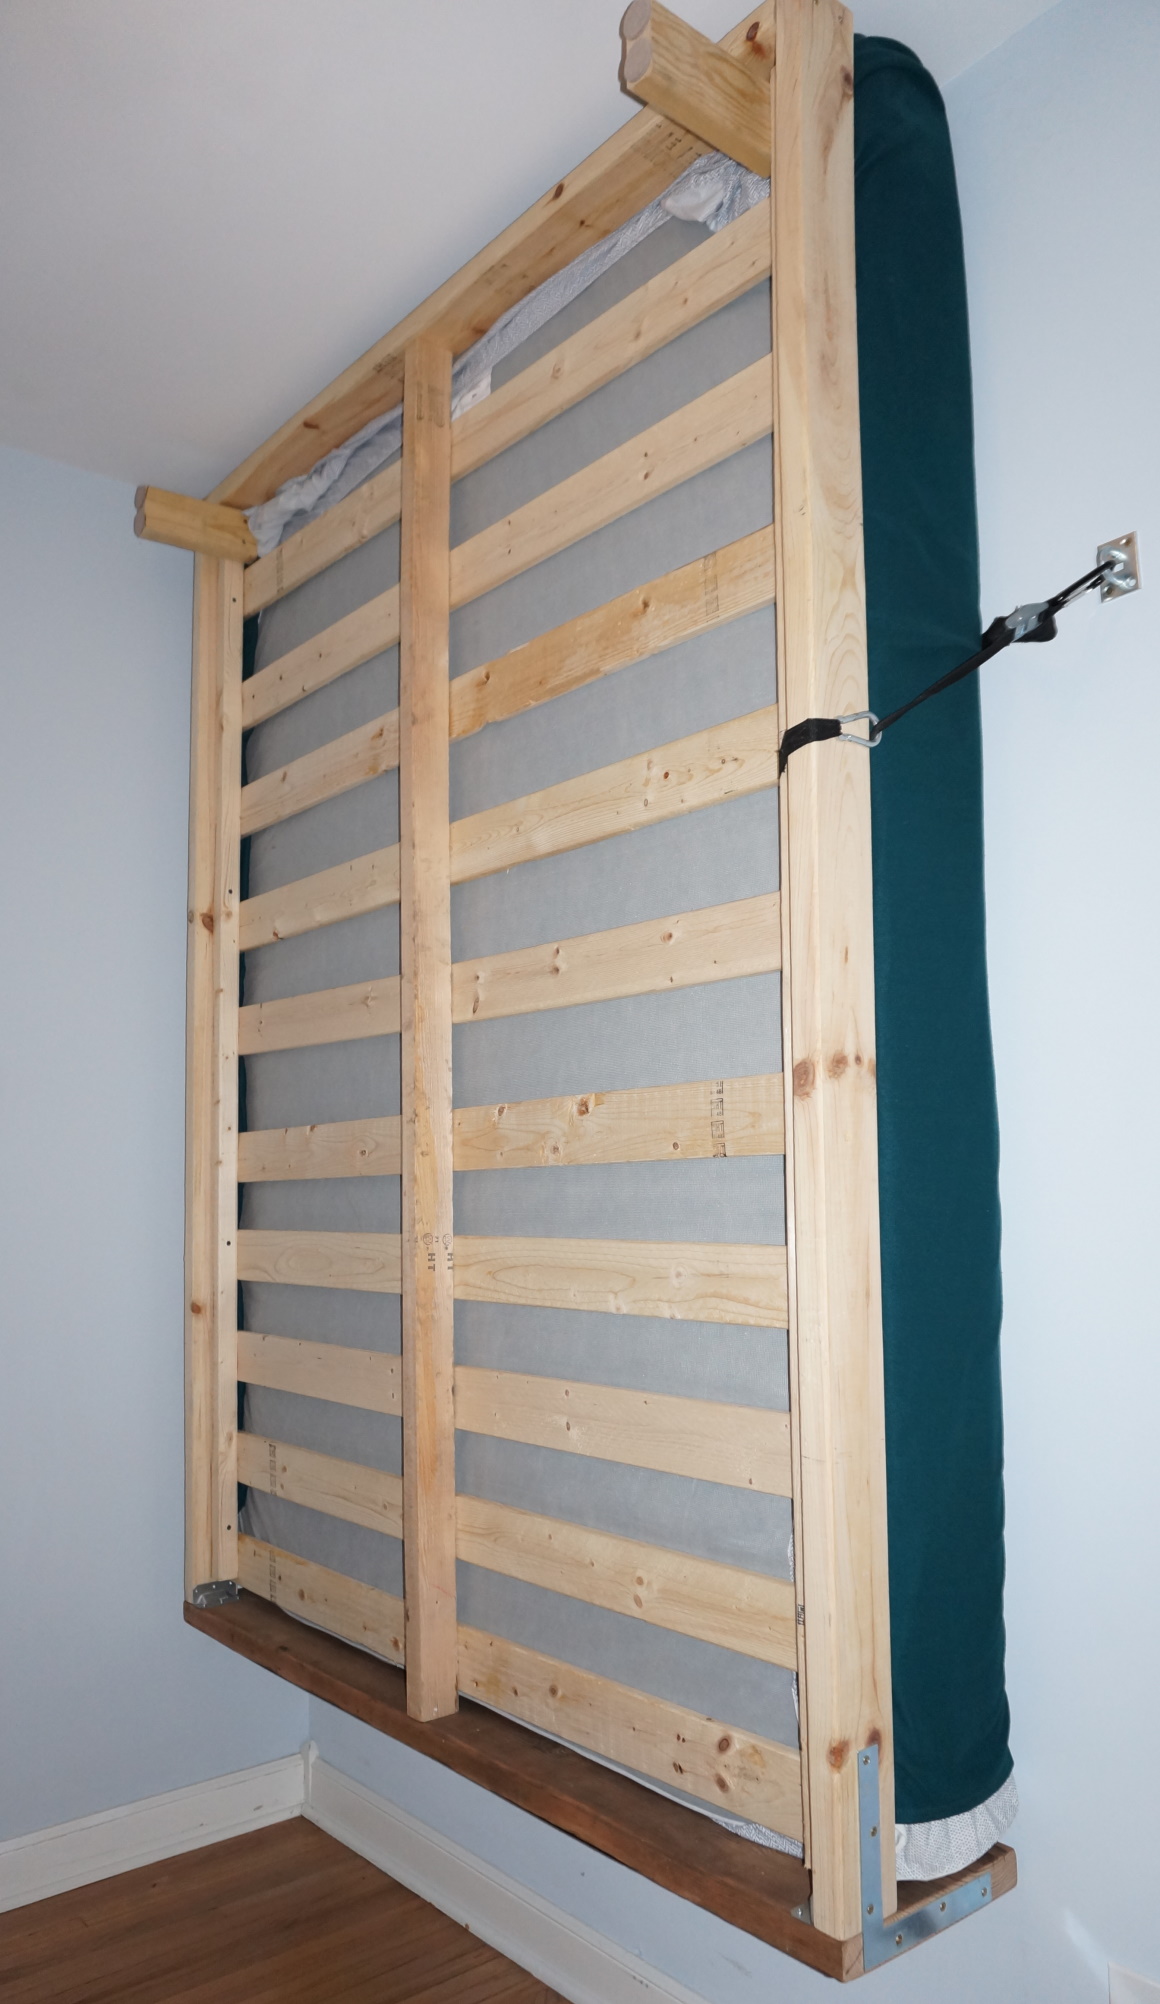
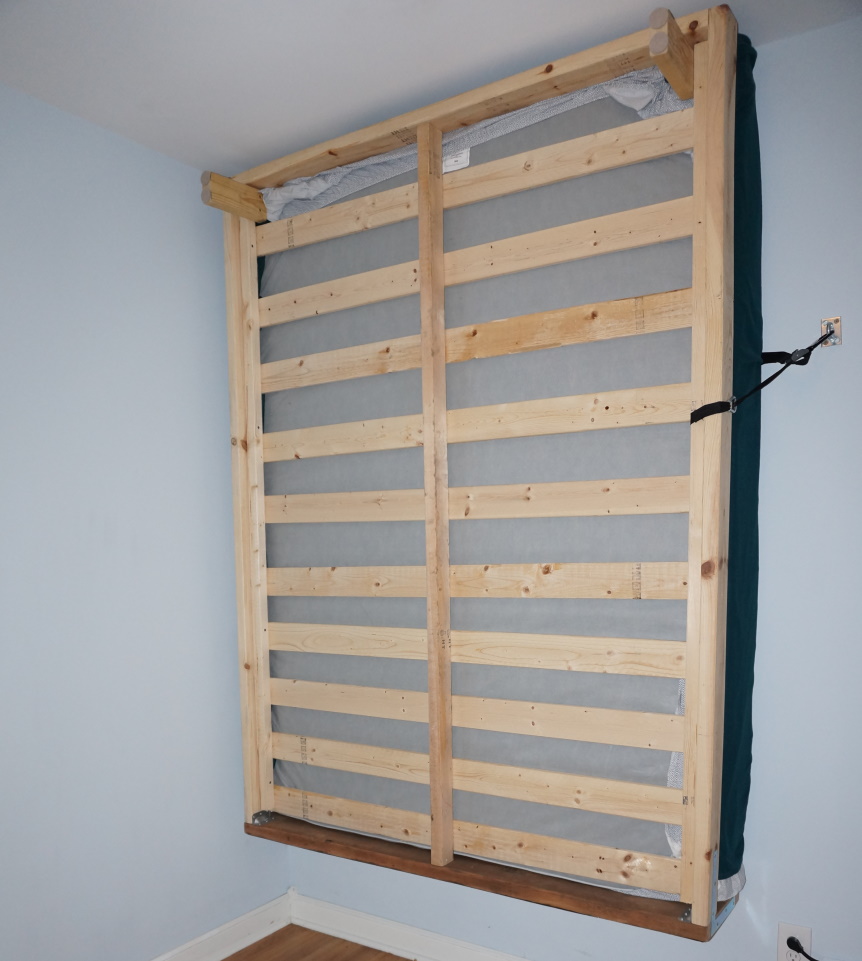
- Add a sturdy hook to a nearby stud about 6ft off the ground. Make a loop around the 2x4 at a spot that will be near the hook when the bed is raised. Use a carabiner to attach the loop to the hook and use the cam strap to sinch the bed flat against the wall (the image below uses a different configuration but required modifying the cam strap).